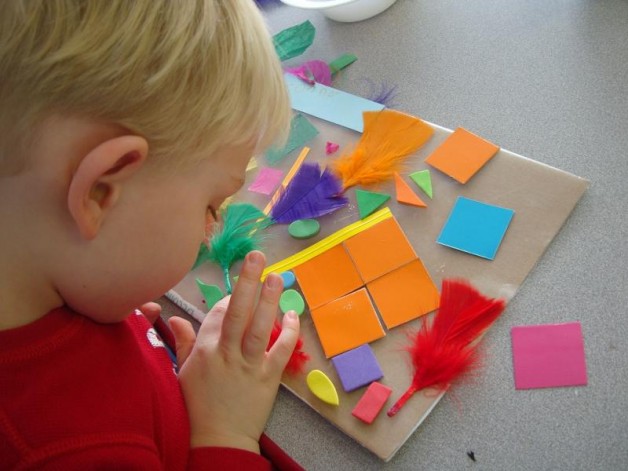
 It’s no secret that I LOVE doing activities with “sticky paper” (AKA: clear contact paper). I usually do “sticky projects” as a small or large group activity. For this project, I decided to have children make an individual piece of artwork, and let them explore and create with the materials as they wished.
To do this, each child had to have their own sticky board. To make the sticky board, I took rectangular cardboard pieces and attached contact paper to them with the sticky side facing UP. To do this … before peeling and exposing the sticky surface of the paper – you cut the contact paper into rectangular pieces, slightly larger than each piece of cardboard. Then, place the contact paper on top of the cardboard, and adhere it to the board with masking tape. Do not peel the shiny side of the contact paper off until you are ready for children to use it.
When you are ready for children to start creating, peel the contact paper and expose the sticky surface.
Some collage items we used were: cut pieces of felt, paint chip samples, tissue paper, twist ties, feathers and foam shapes
The options are virtually endless with this – you can really use almost any type of light-weight collage material.
We gave each child a small piece of cardstock to write their name on. They put this onto their sticky board. Then, we provided a variety of collage materials, and let the children create as they wished!
It was interesting to see how the different children used the materials .. some focused on color, some focused on the type of collage items, and some constructed scenes or objects.
We also used colored duct tape to make a frame on the edges of the boards – and this also reinforced the contact paper onto the cardboard.
Want more Sticky Paper ideas?
Lots of other ideas available on creative ways to use sticky contact paper in preschool! Check out: Making sticky collages


Leave a Reply