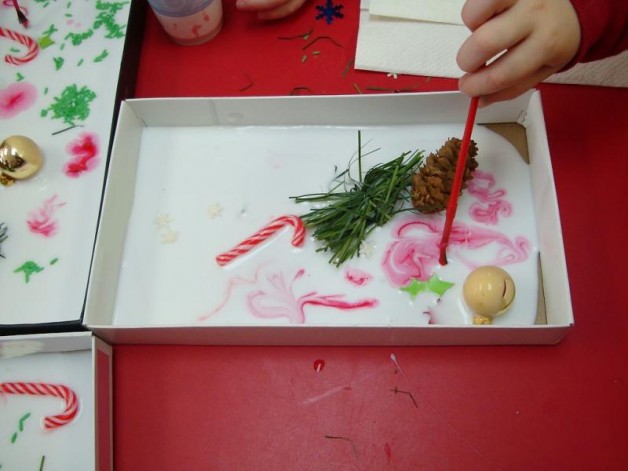
 As soon as I saw the nature shadow boxes from Teach Preschool – I just knew we had to do this! The idea of making a shadow box can be adapted to any season (winter, spring, summer, fall or for a certain holiday). Children can collect things from nature, bring in items from home or use collage materials from school. The shadow boxes we made here are Christmas themed.
First, we poured a layer of glue into each shoebox lid — that alone generated many “Oooohs” and “Aaaaahs” from the children! Next, we gave the children an assortment of Christmas themed items (such as small ornaments, candy canes, Christmas confetti, pine branches, etc). Oh yea … I still had some scented pinecones left over from another project, so we used those too! The children chose what items they wanted to put into their boxes.

Next, was the best part! The children were given green and red watered-down tempera paint in cups and they then dipped the paint into the glue. The children loved seeing the color spread as it went into the glue. This kept them busy for quite awhile! Some children chose to paint onto some of the items they put into the shoebox lid.
Lastly, they sprinkled red and green glitter into their shadow box, for a sparkly effect! These take a good 3-4 days to dry fully (depending on how much glue you use). As the glue dries it turns clear (and you may not see much of the paint color) – but the process of painting into the glue was great for the children as they explored how the paint reacted with the glue.

Afterwards, you can use these as I-SPY boxes. (ie. “I-SPY something red”, “I-SPY a candy cane”, etc.).
What other types of shadow boxes could you make? What materials would you use?


Leave a Reply